

How To Attach A Data Disk To An Existing Virtual Machine And Initialize It For Use In Azure.


The purpose of this article is to show you how to attach a data disk to an existing virtual machine in Azure and initialize it for use. In Azure, there are three types of disks: the OS disk, the data disk, and the temporary disk. The OS disk is the disk that contains the operating system and boot files for a virtual machine. It is where the operating system is installed and it is persistent, meaning it retains data even if the virtual machine is turned off. On the other hand, a data disk is an additional disk that can be attached to a virtual machine. It is used to store data, applications, and other files separate from the OS disk. The temporary disk, also known as temporary storage, is a disk that is automatically created and attached to a virtual machine during its provisioning process. This temporary disk is not persistent, and its contents can be lost if the virtual machine is stopped or restarted.
To attach a data disk to a virtual machine, in this case, a Windows 11 Pro virtual machine, you can follow these steps:
The first step is to create your windows 11 virtual machine
b. To create your windows virtual machine see my post on https://ololadeogundijo.hashnode.dev/guide-on-how-to-create-a-windows-11-pro-virtual-machine-on-microsoft-azure
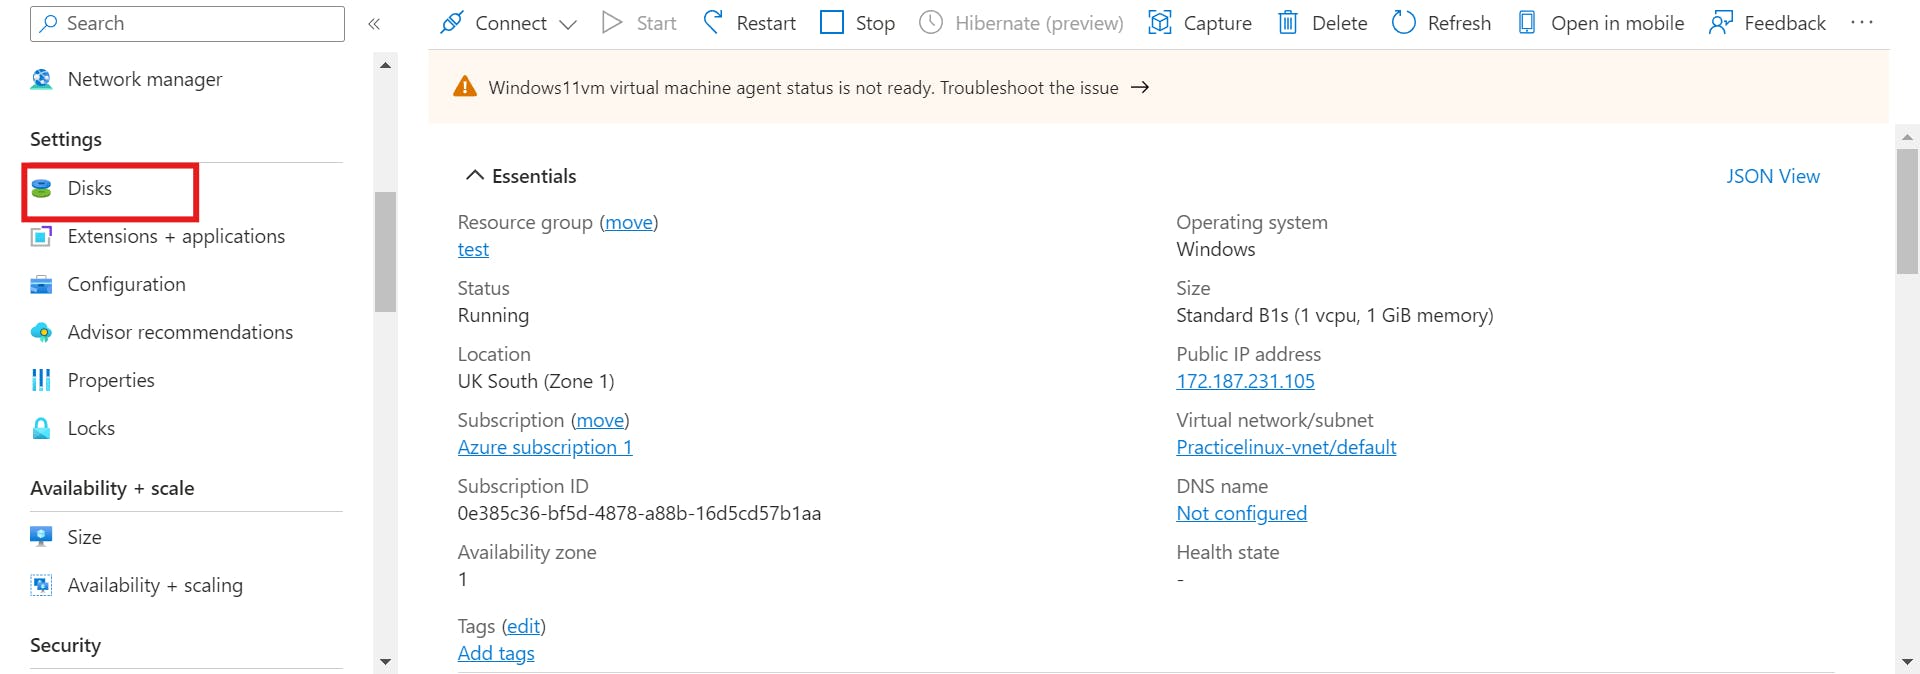
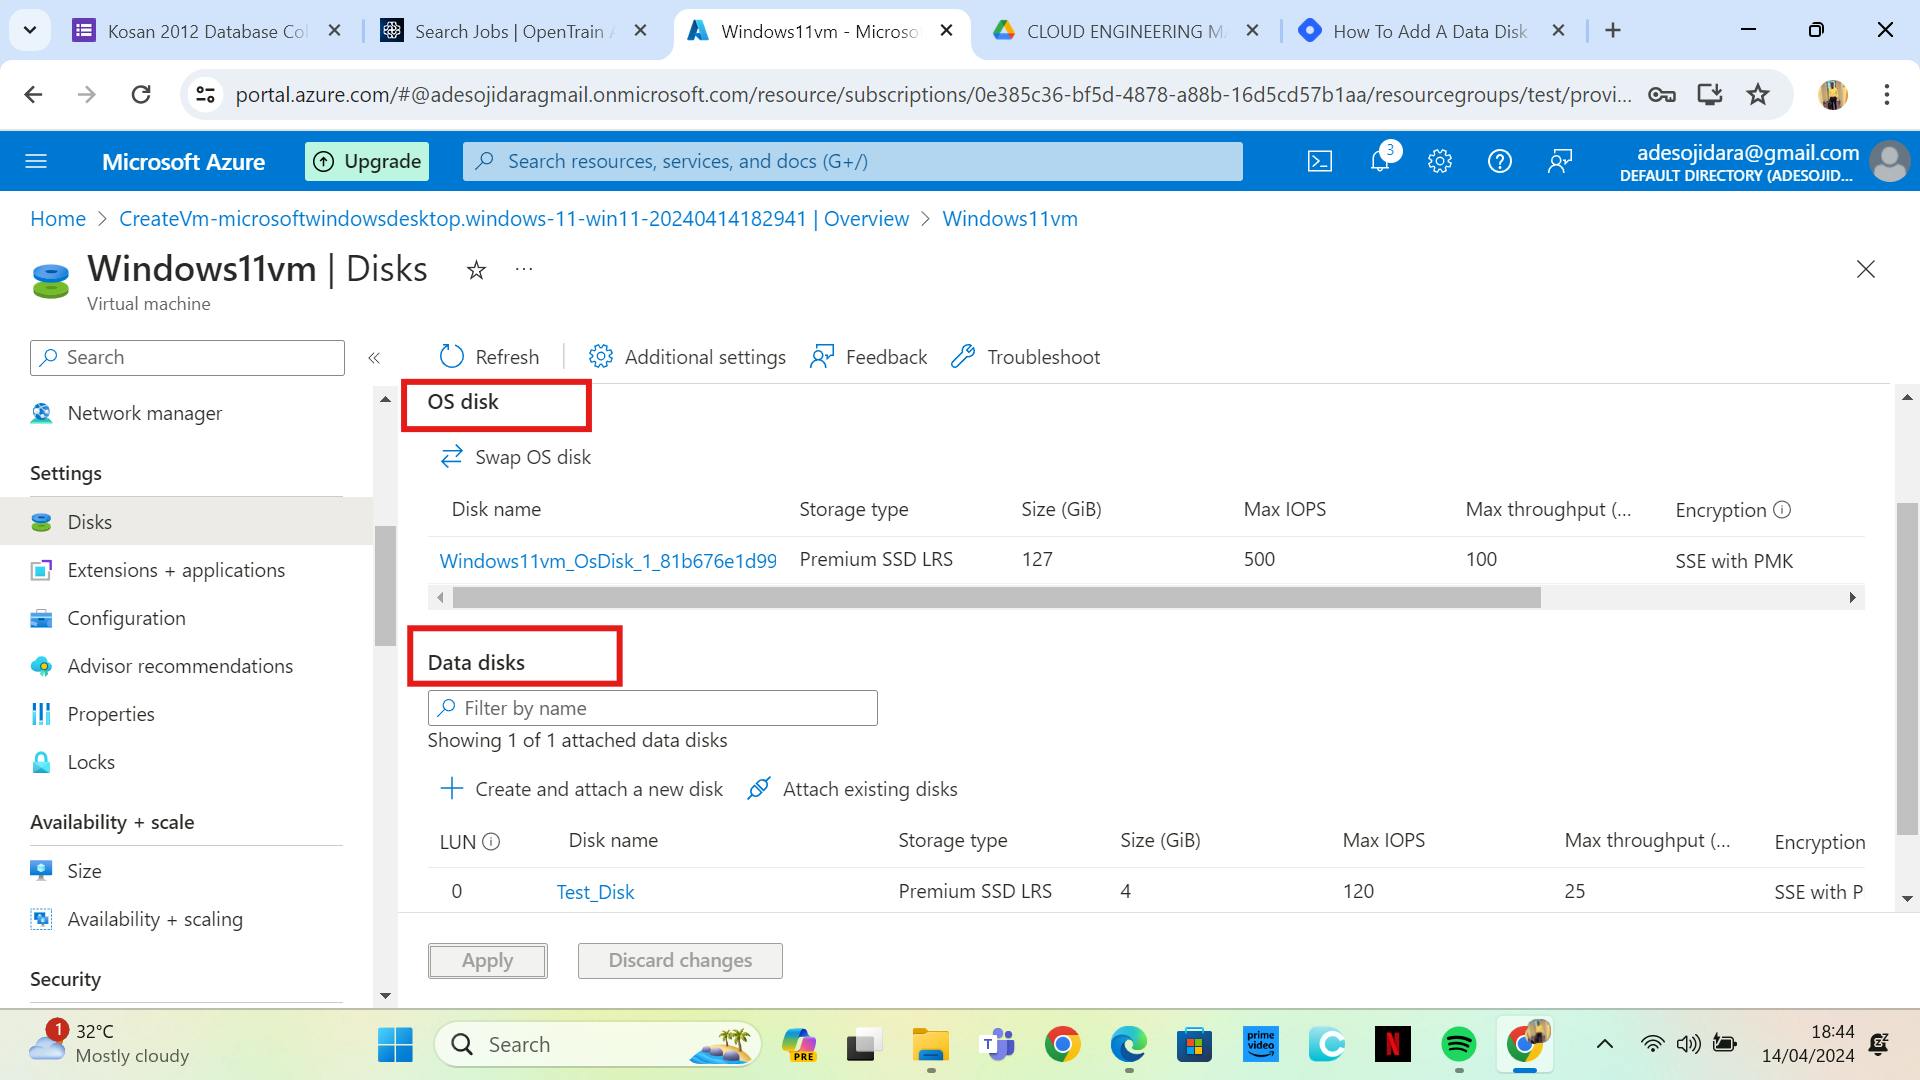
Once your virtual machine is provisioned, click on the "Disks" on the left sidebar.
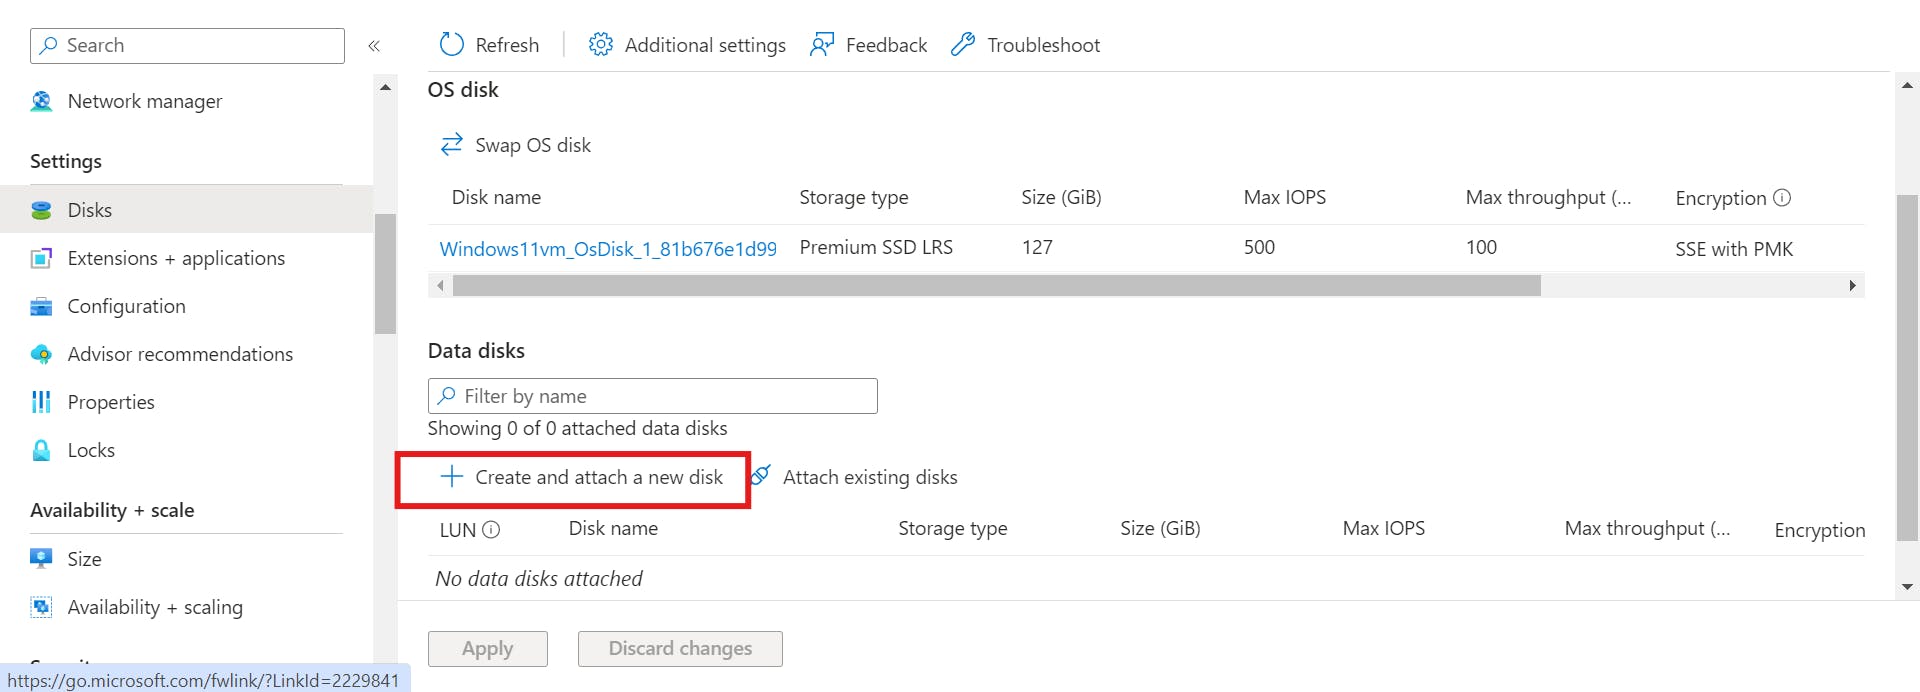
After that, scroll down click on create and attach a new disk.
Give your new disk a name and leave the other information as default and then click on apply.
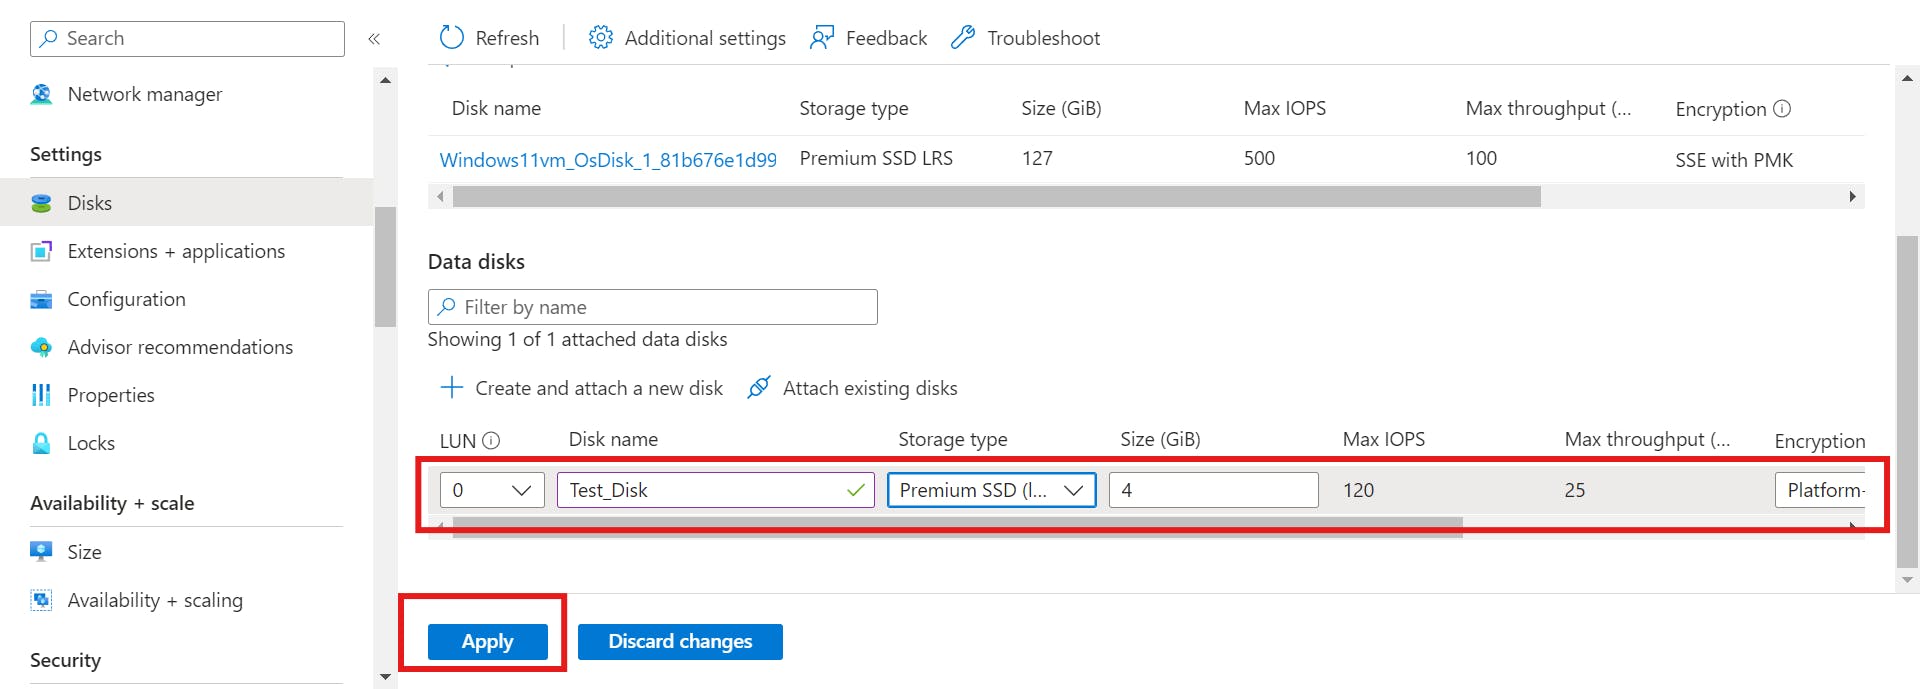
We can also notice that the OS disk is different from the data disk, just as explained above.
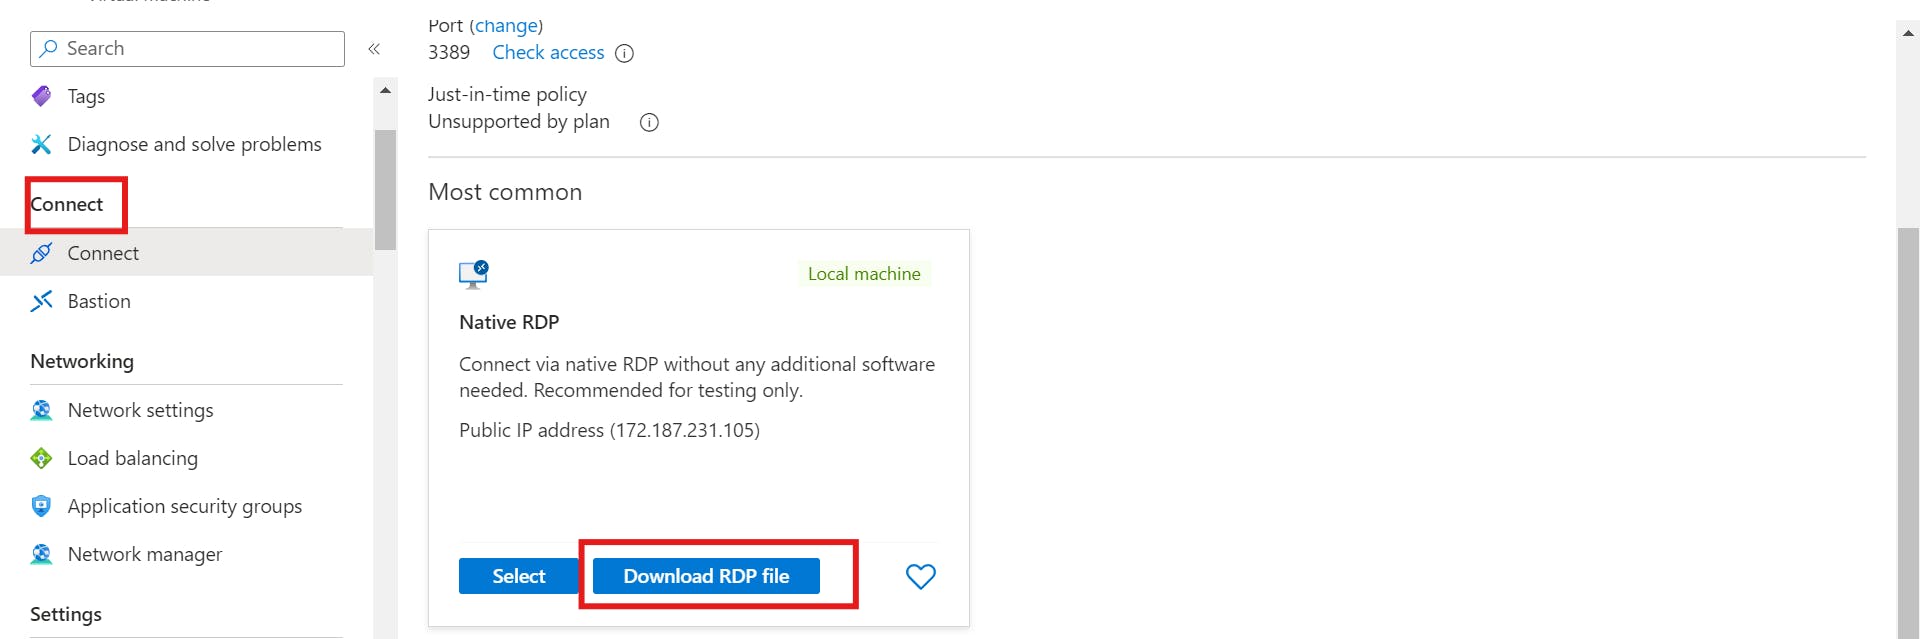
Connect to your virtual machine by downloading the RDP file and input the necessary credentials.
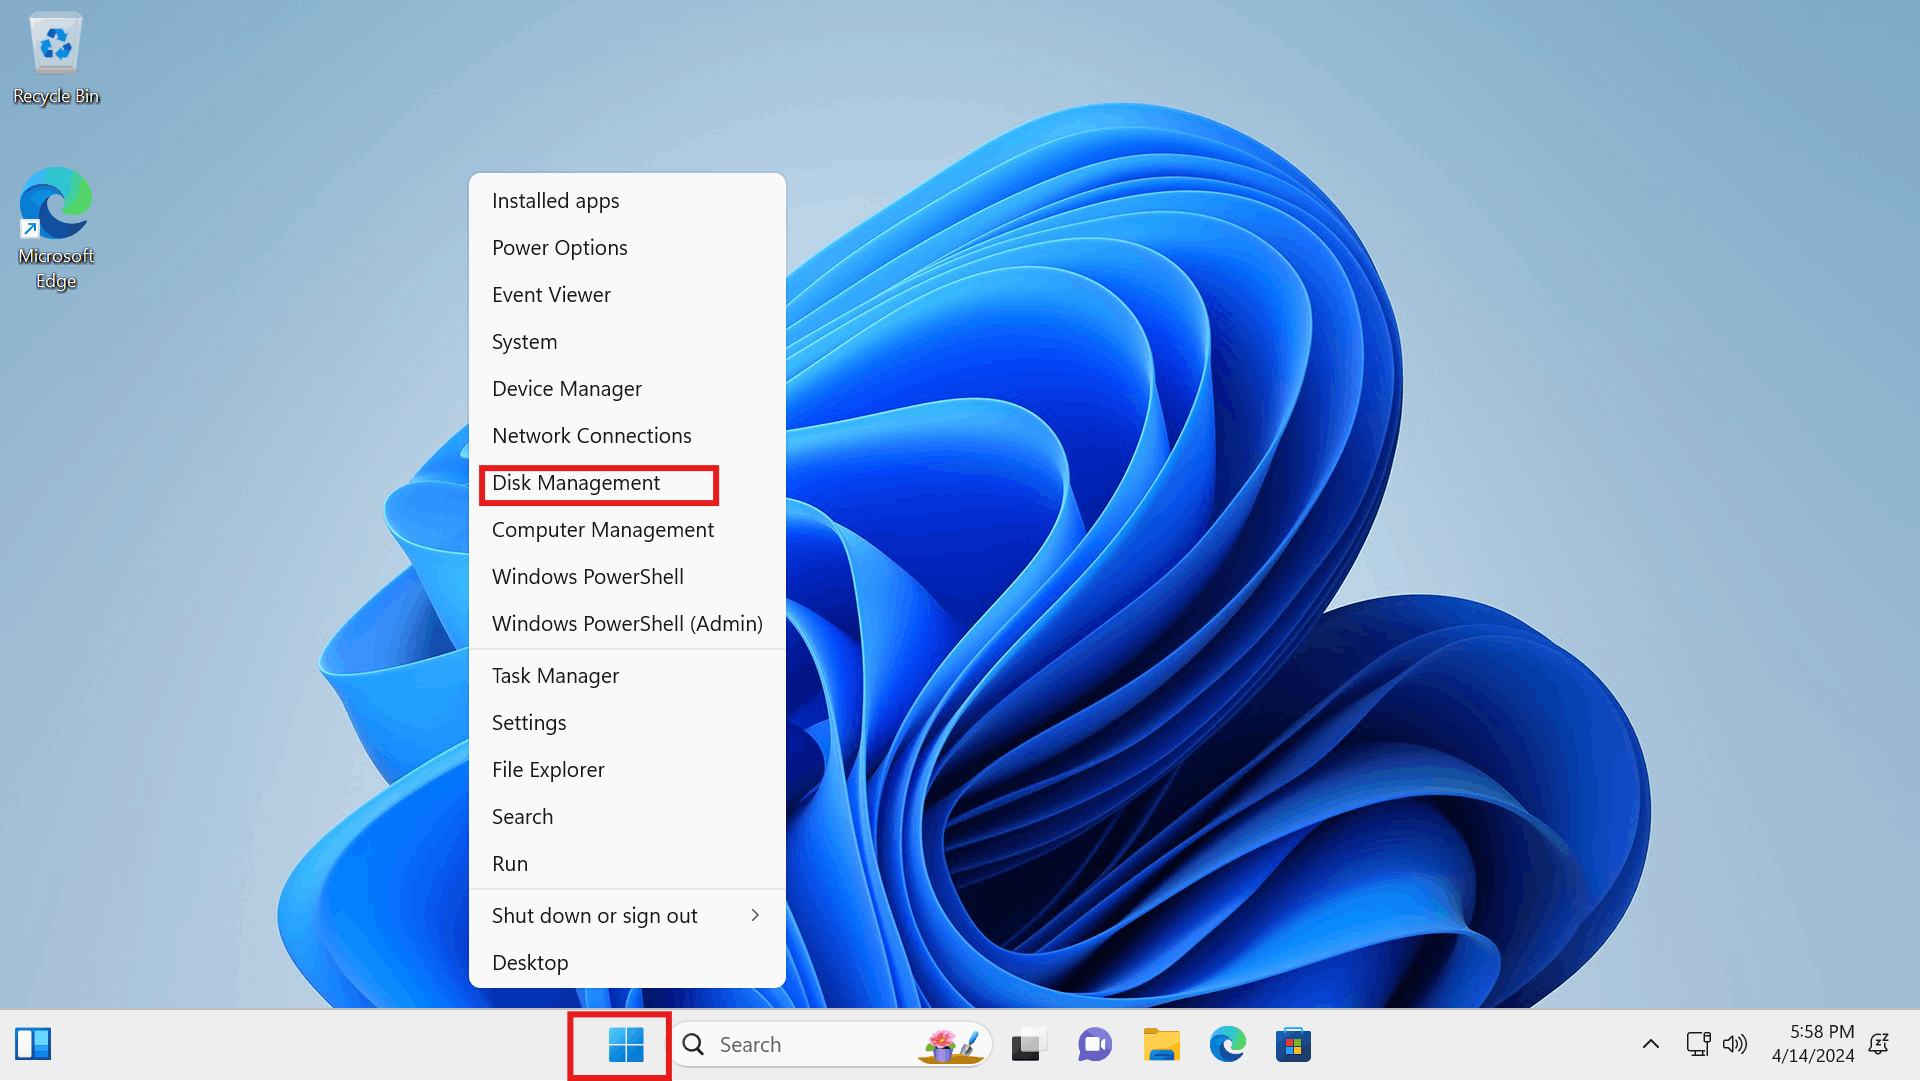
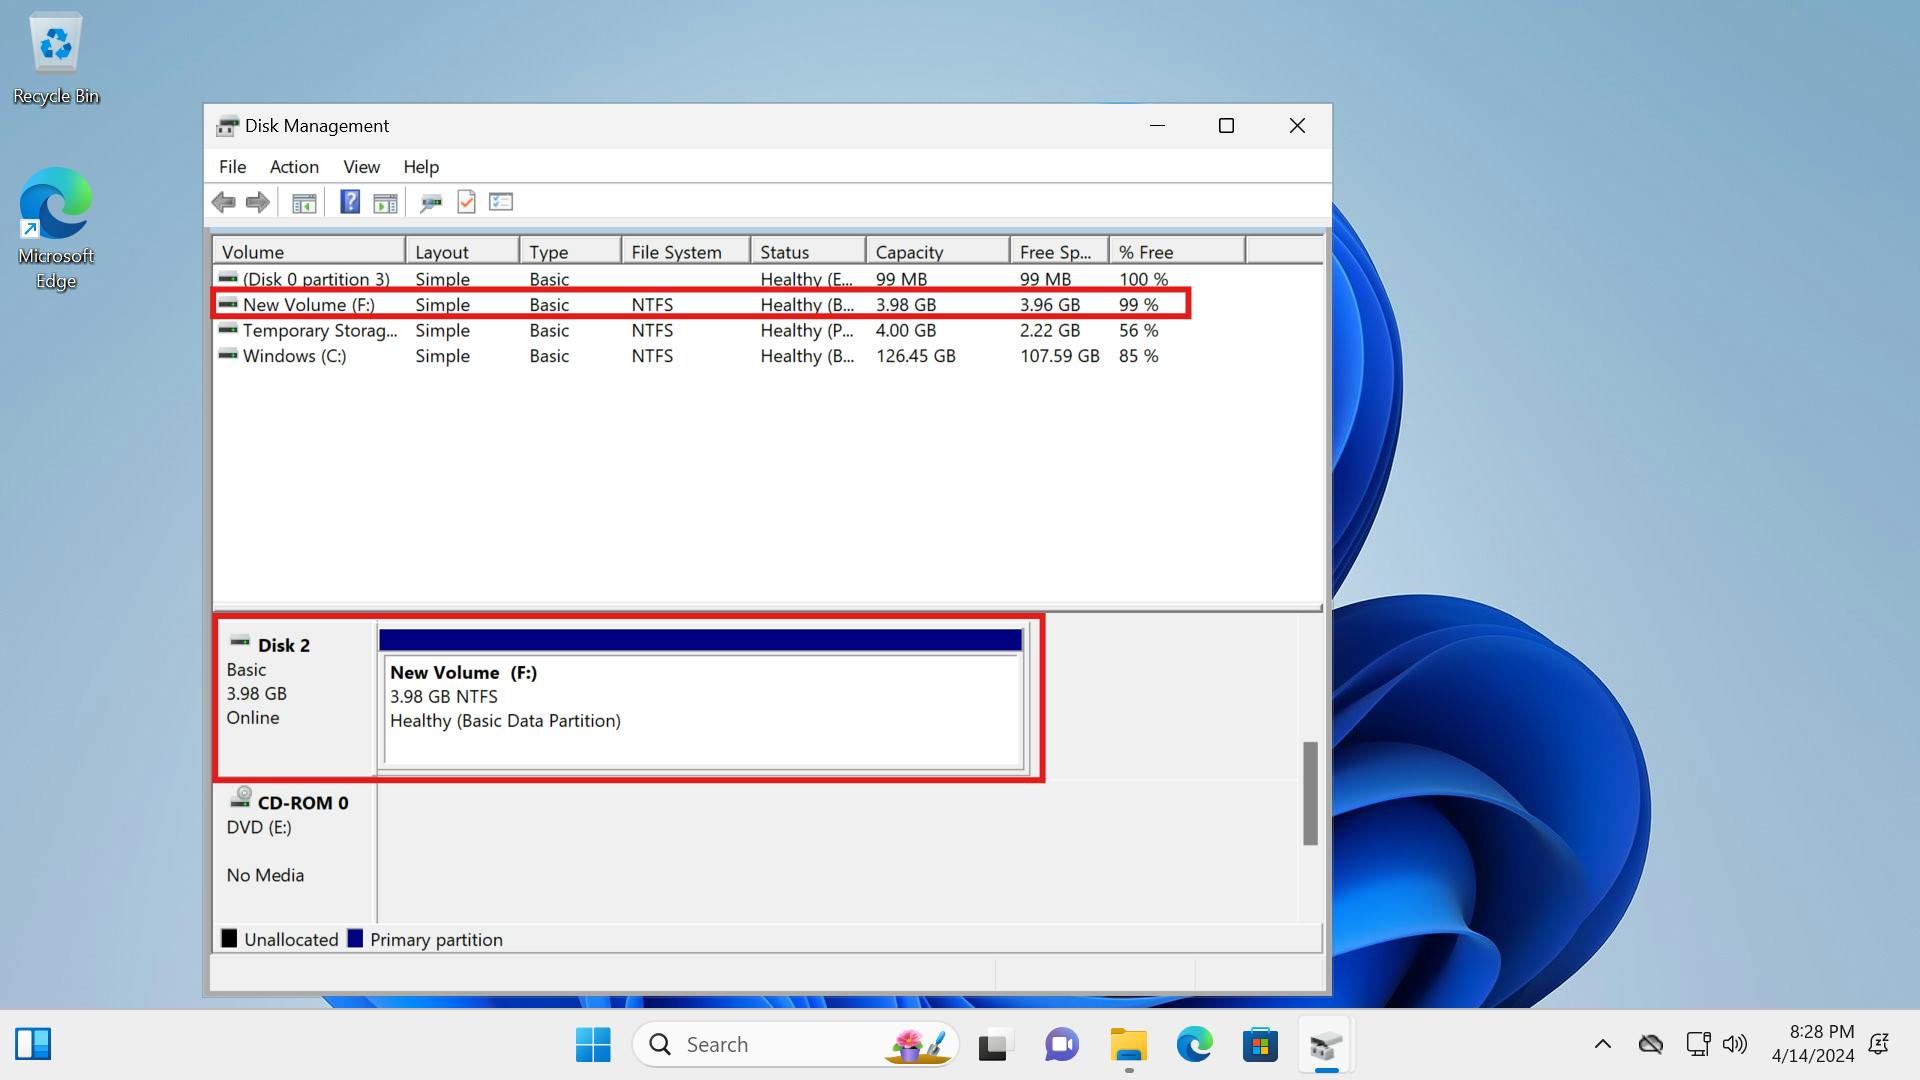
Now that you have remote access to your Windows Desktop, right-click on the Windows icon and click on Disk Management.
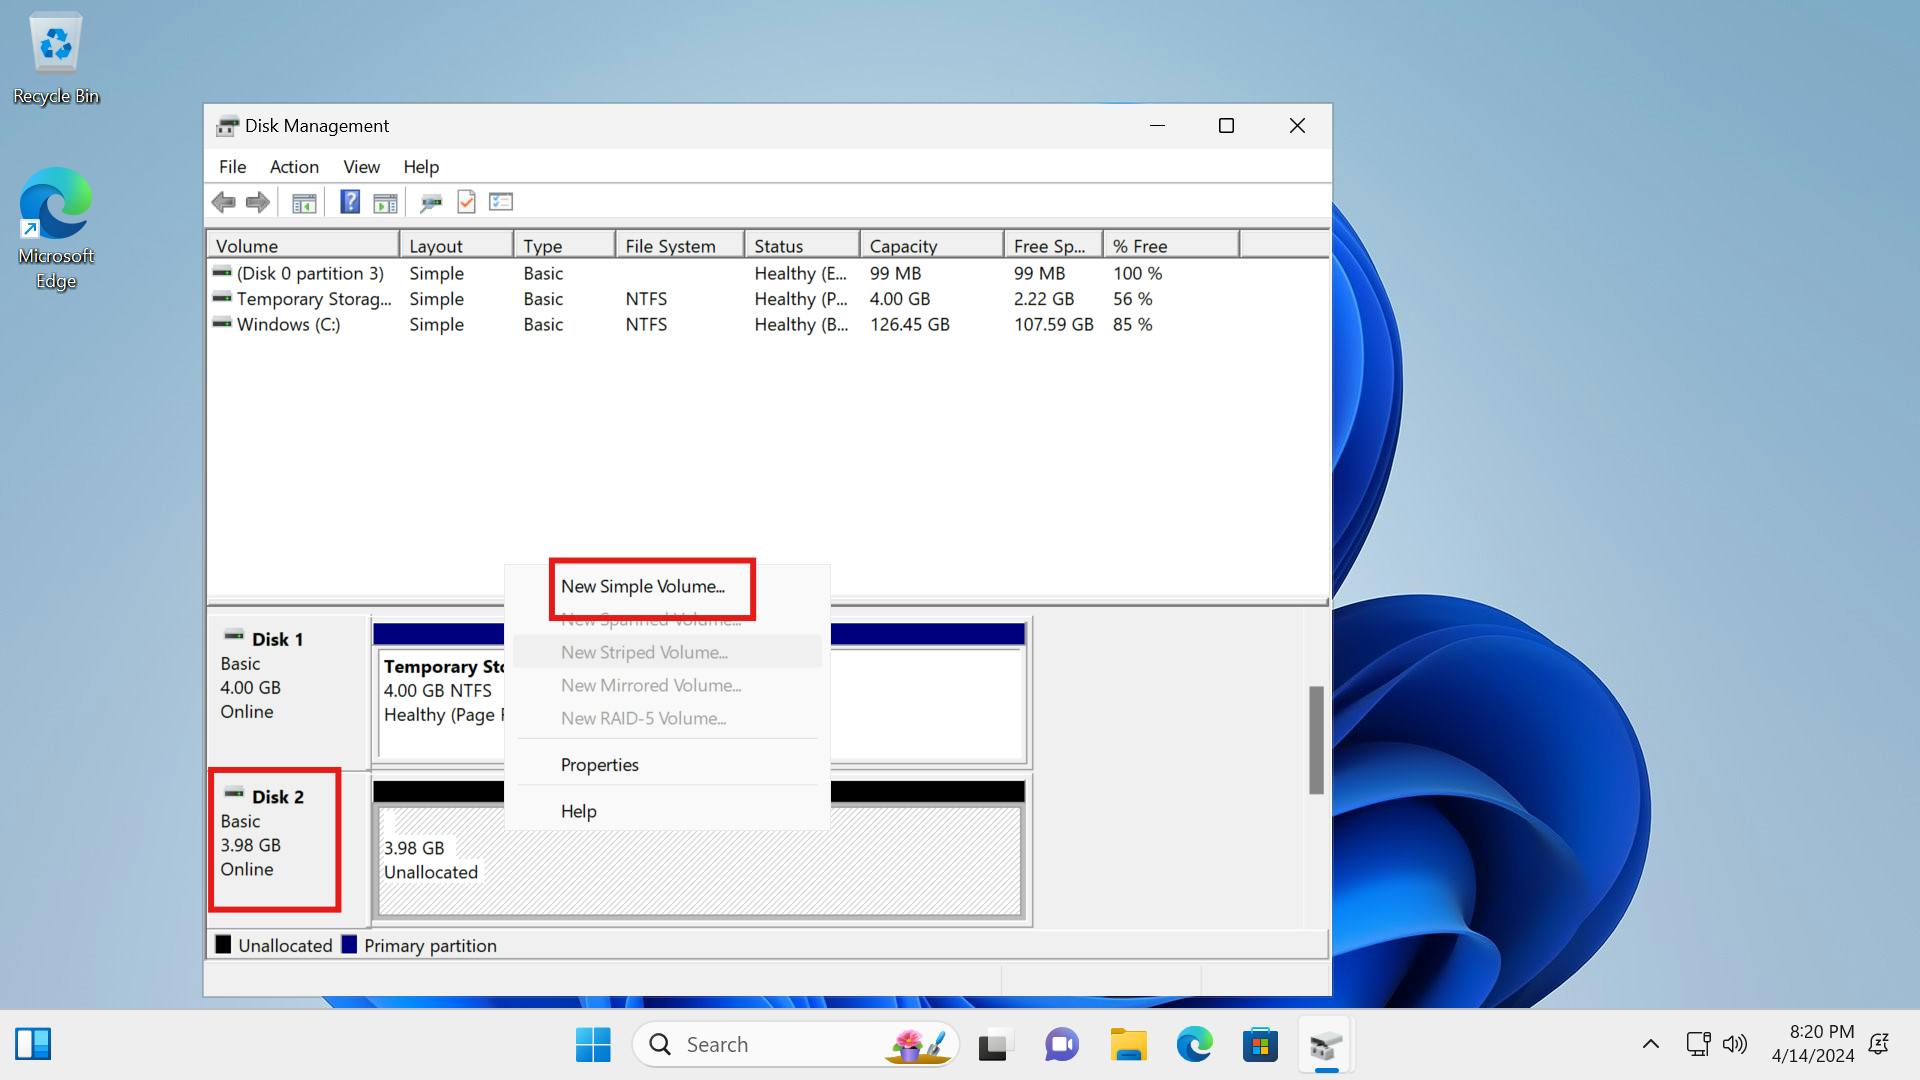
Right-click on the disk 2 below. From the drop-down click on "new simple volume".
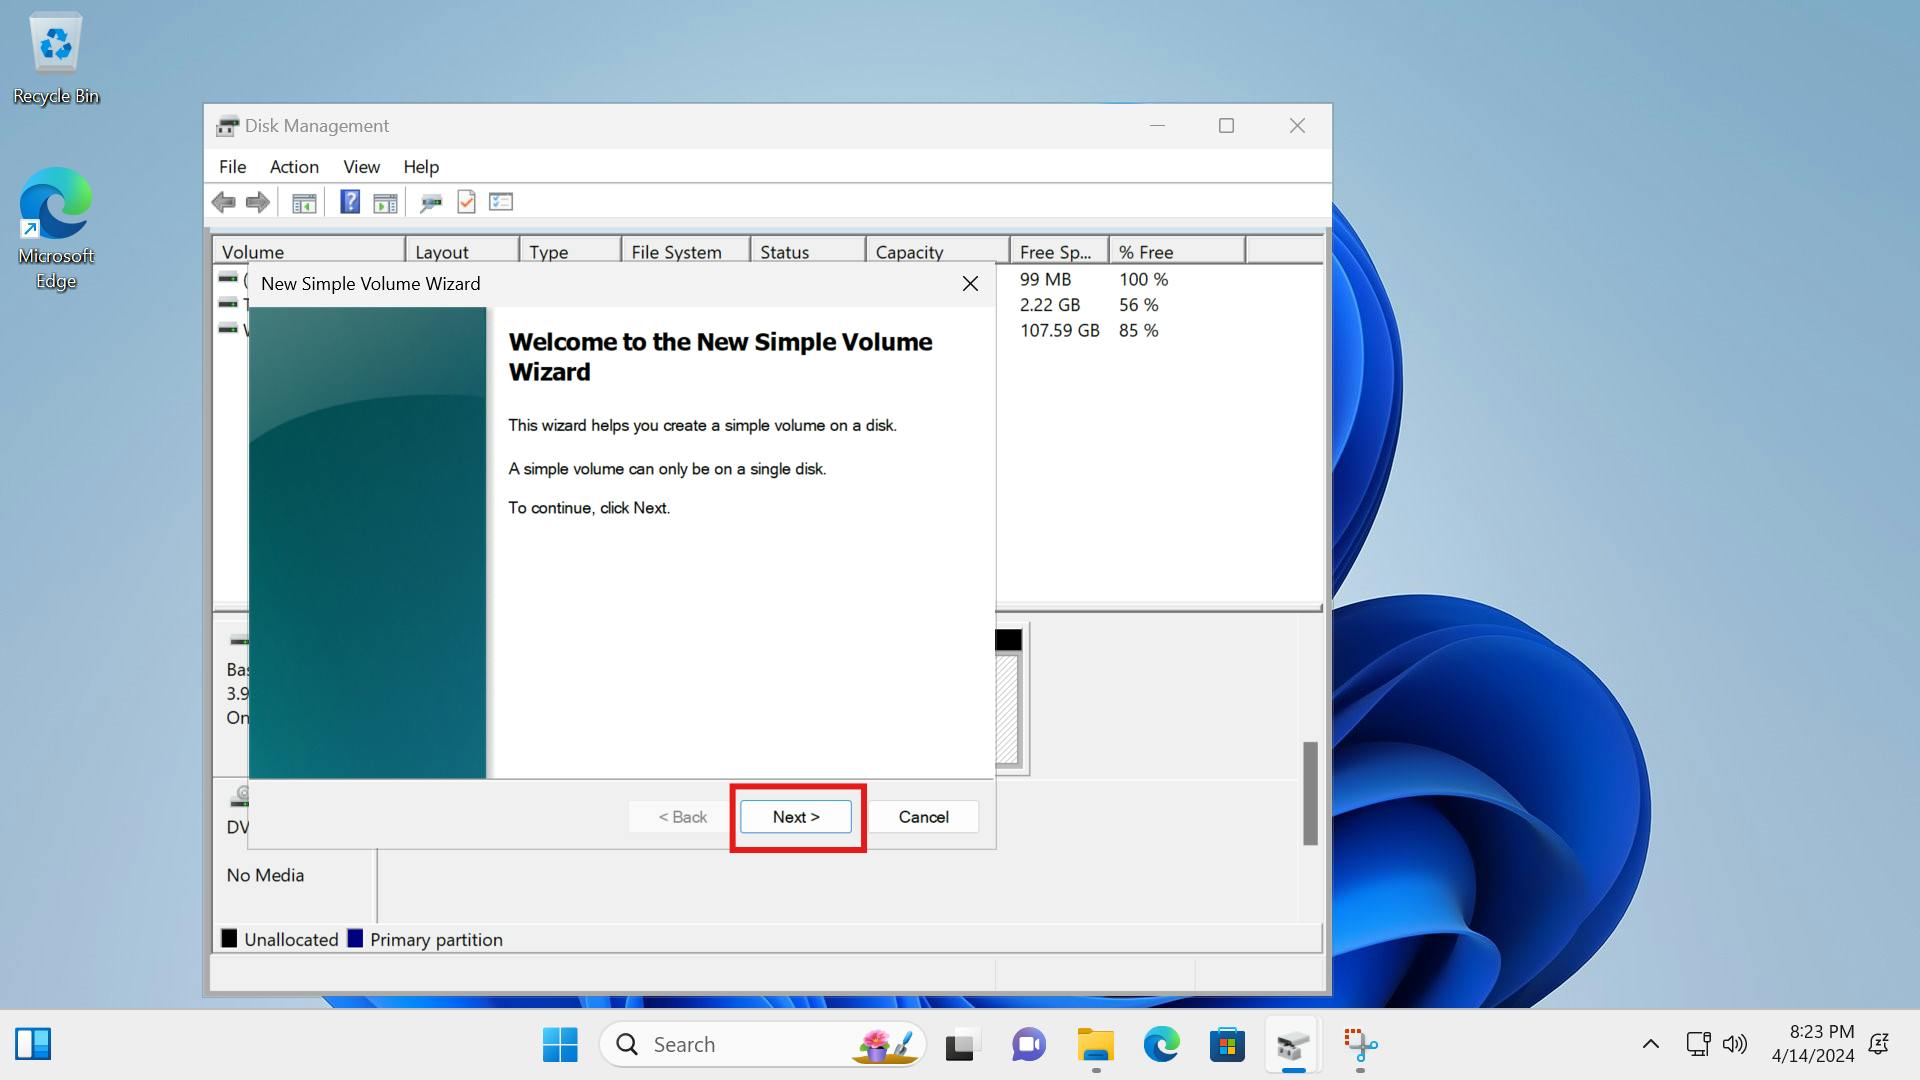
To continue click next on the new simple volume wizard.
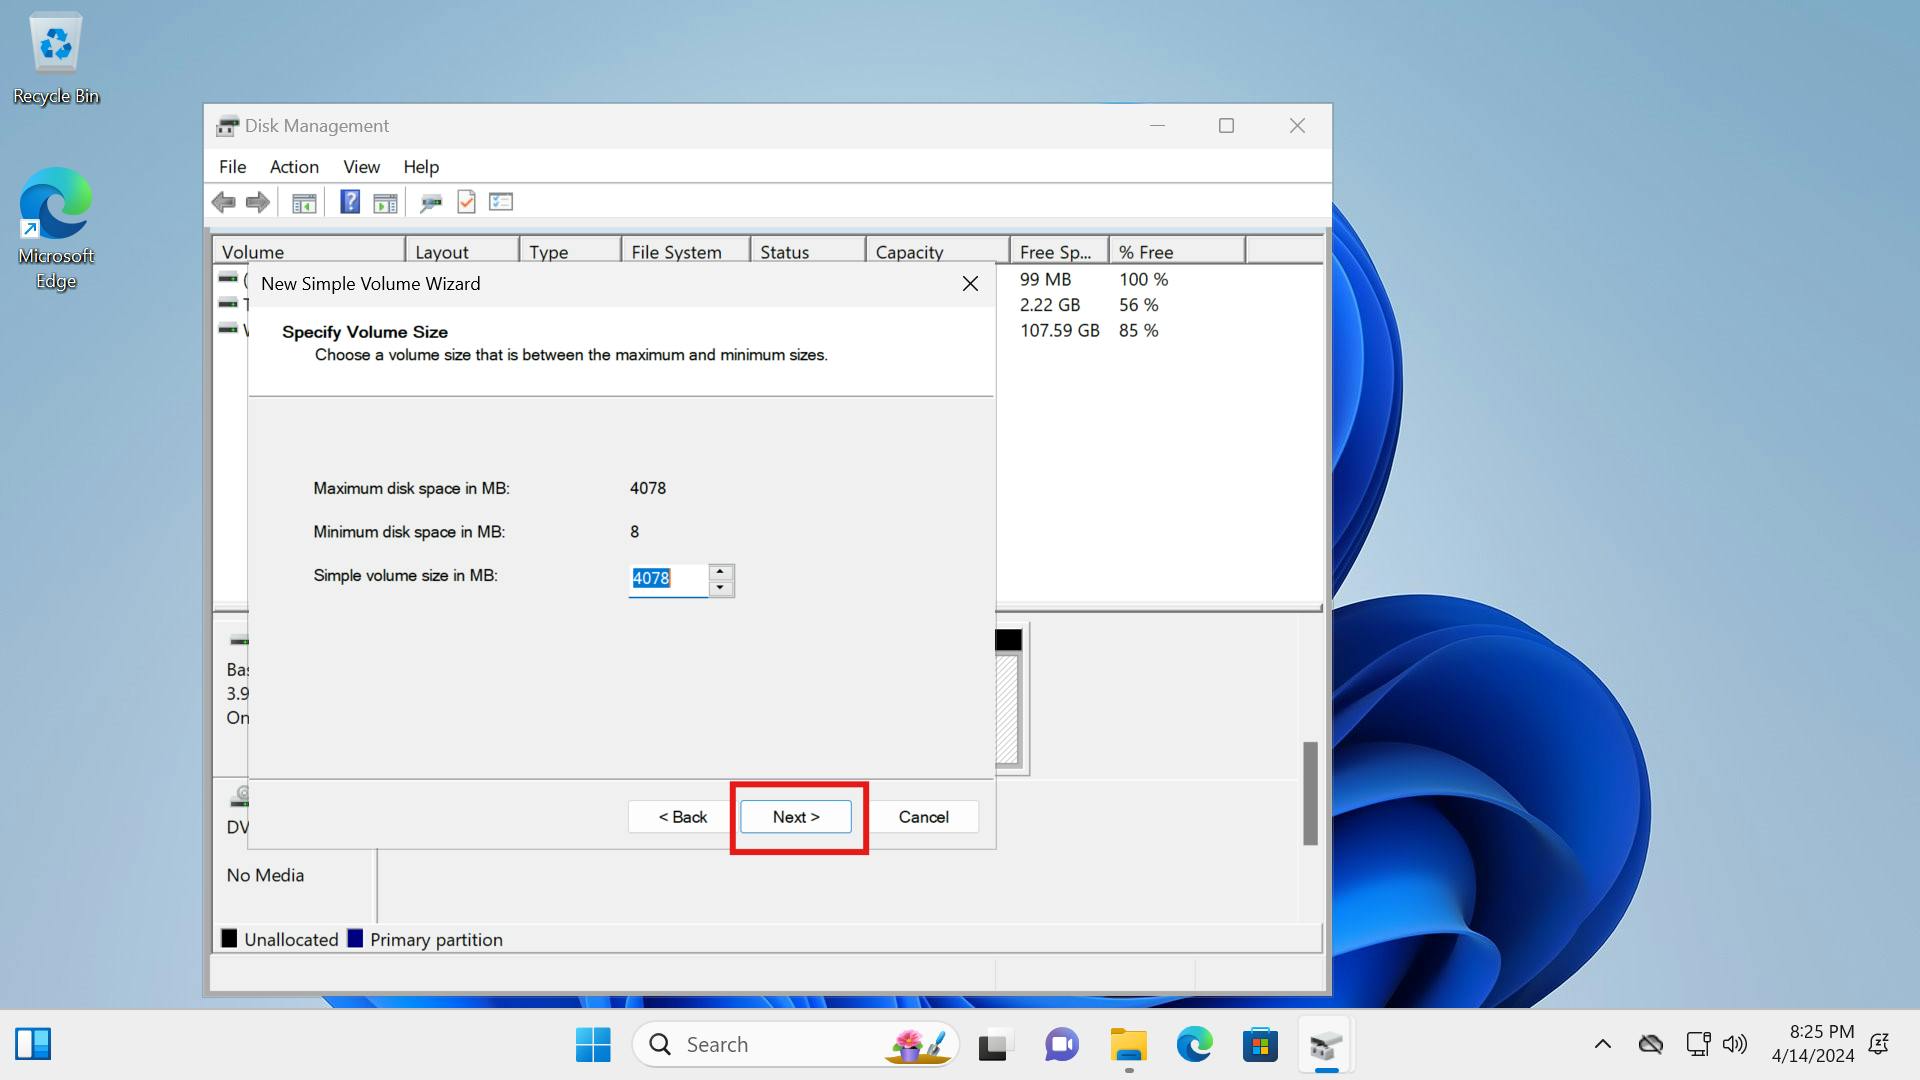
Click "Next" on the specify volume size.
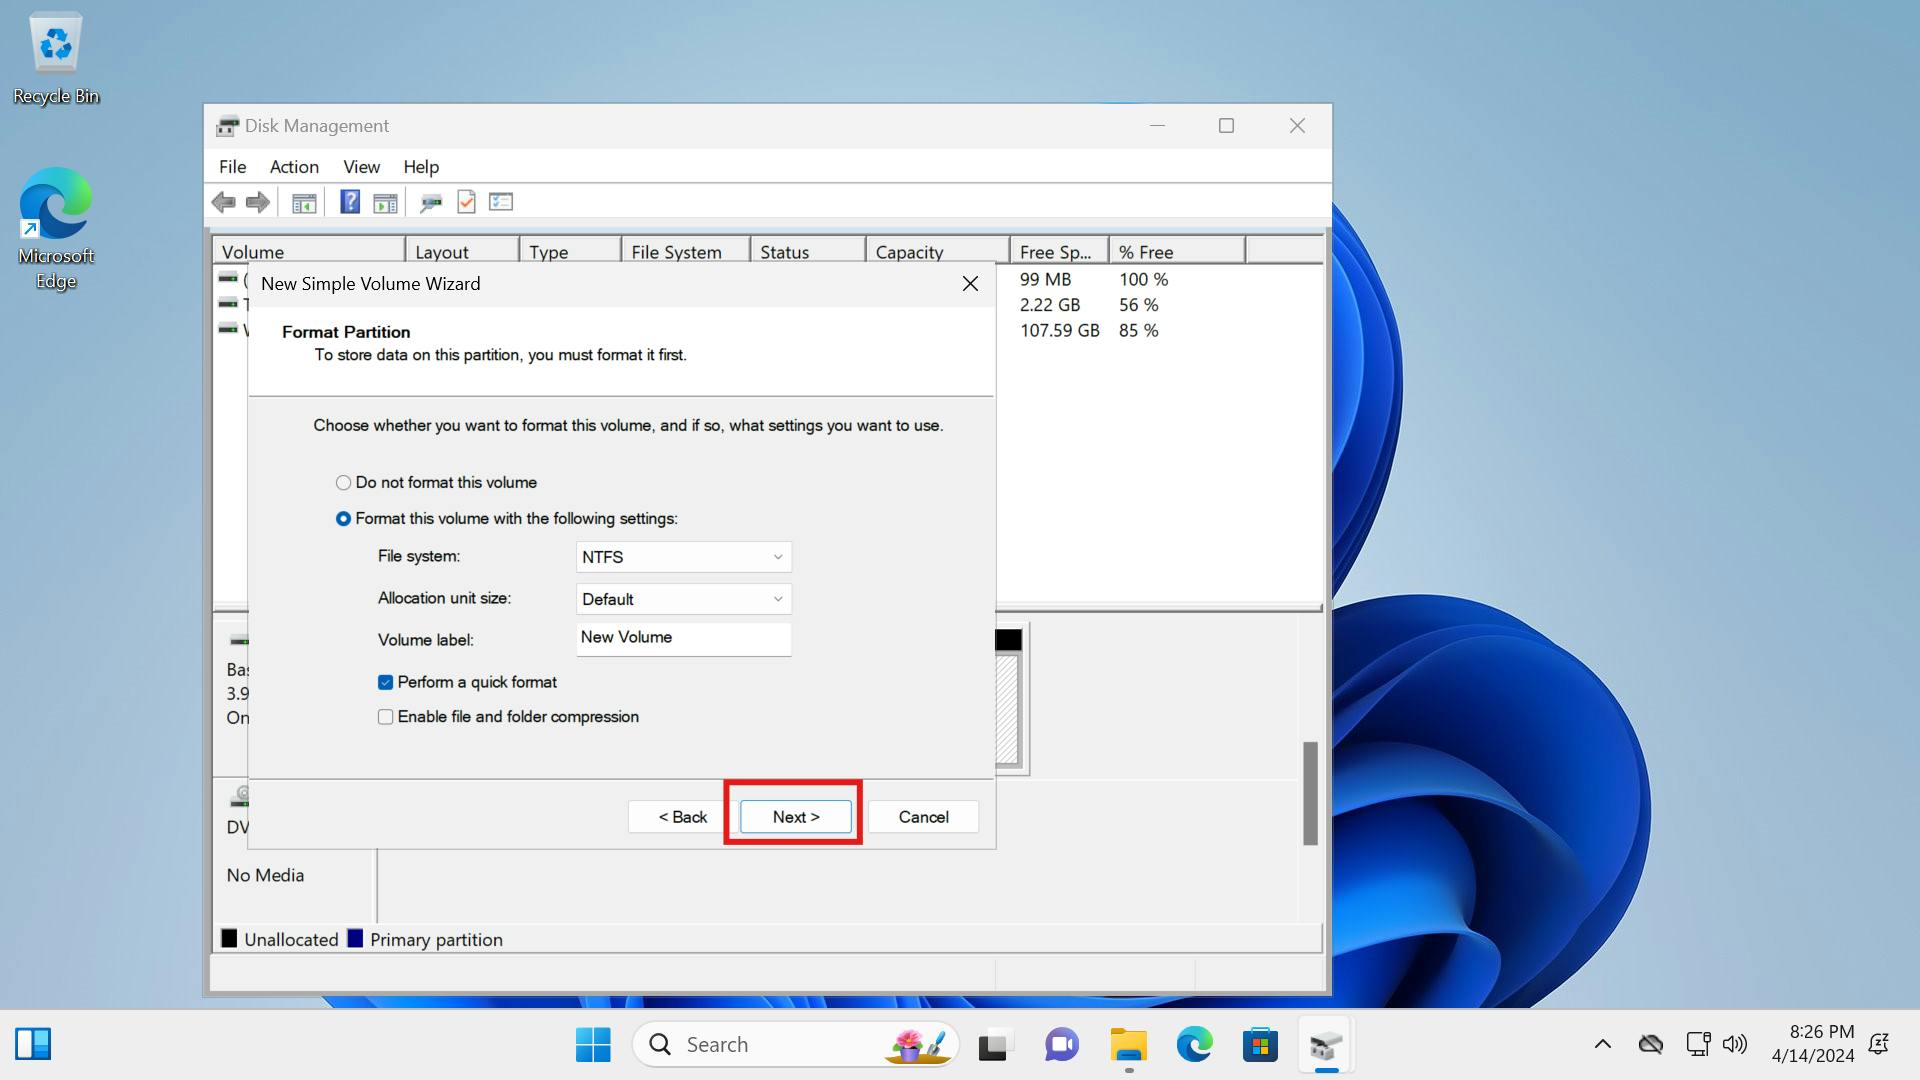
Click "Next" on the Format Partition.
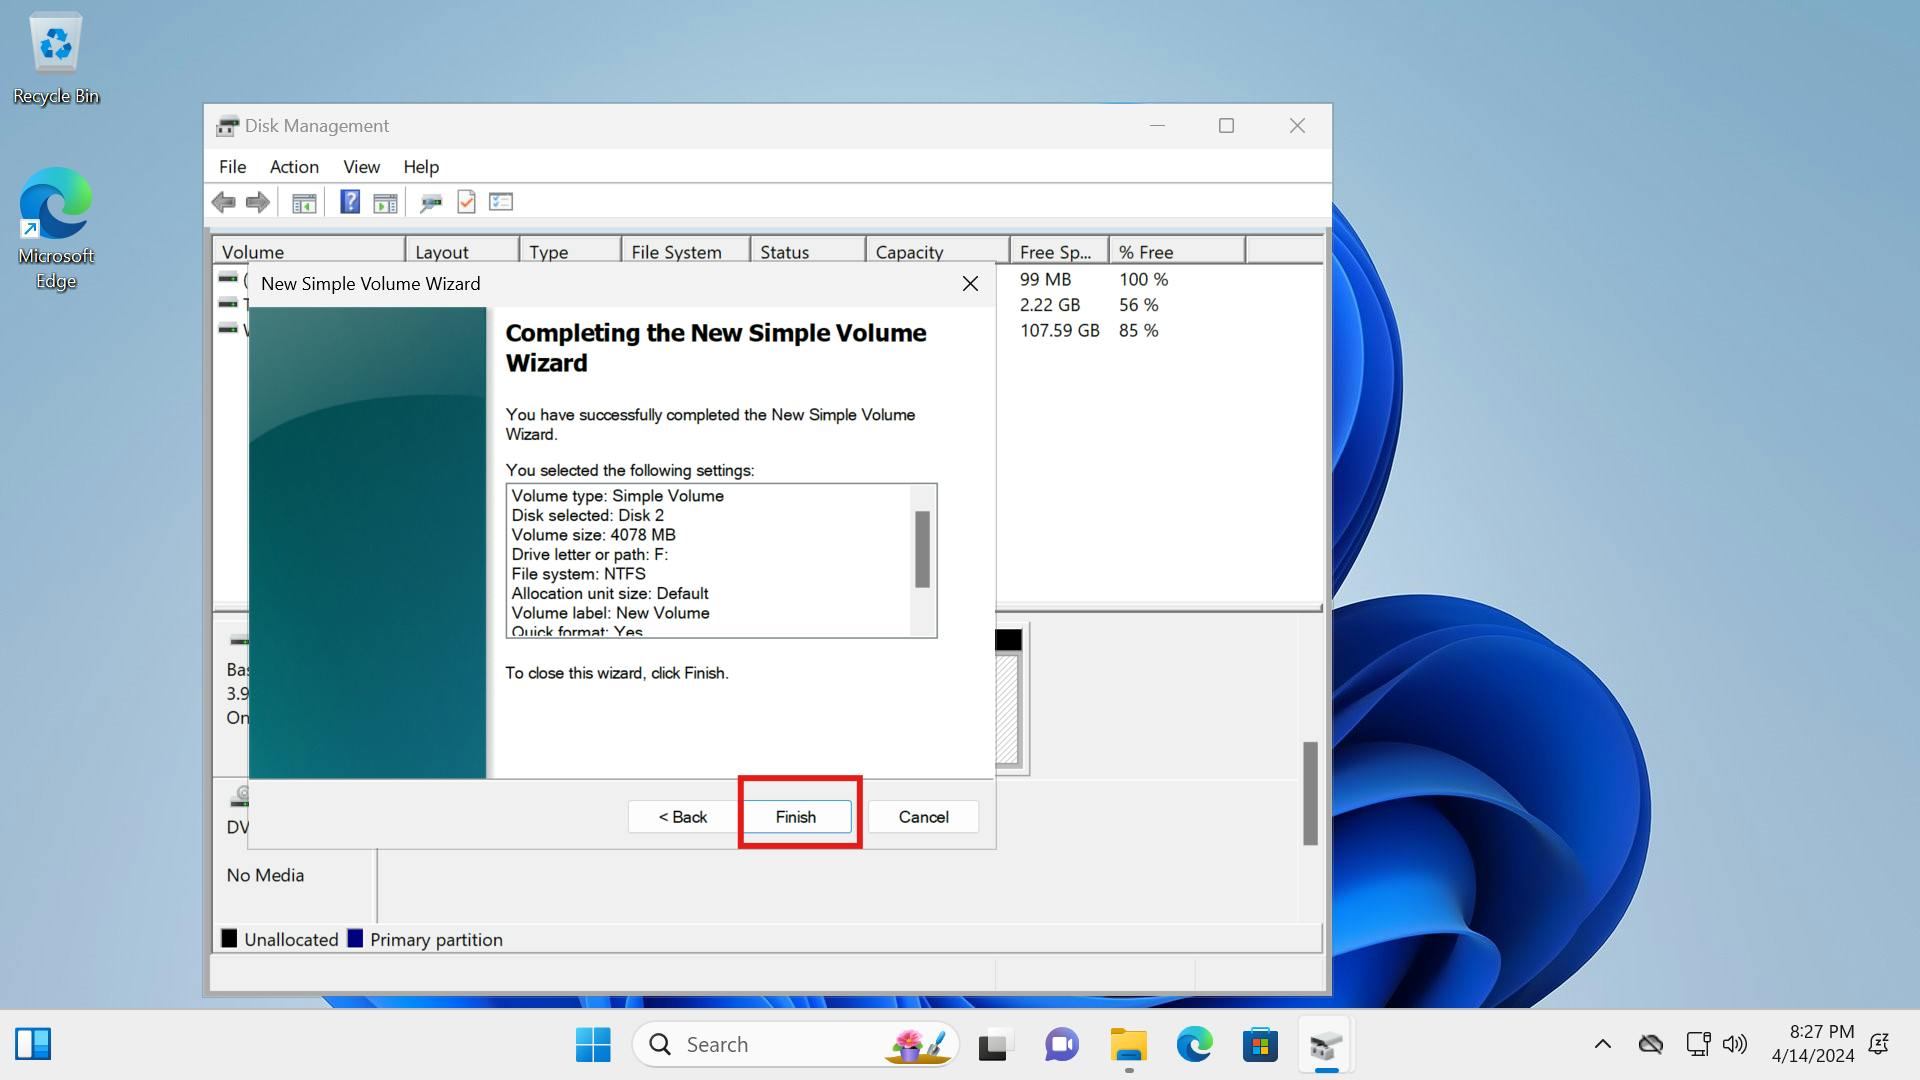
To close the wizard click "finish"
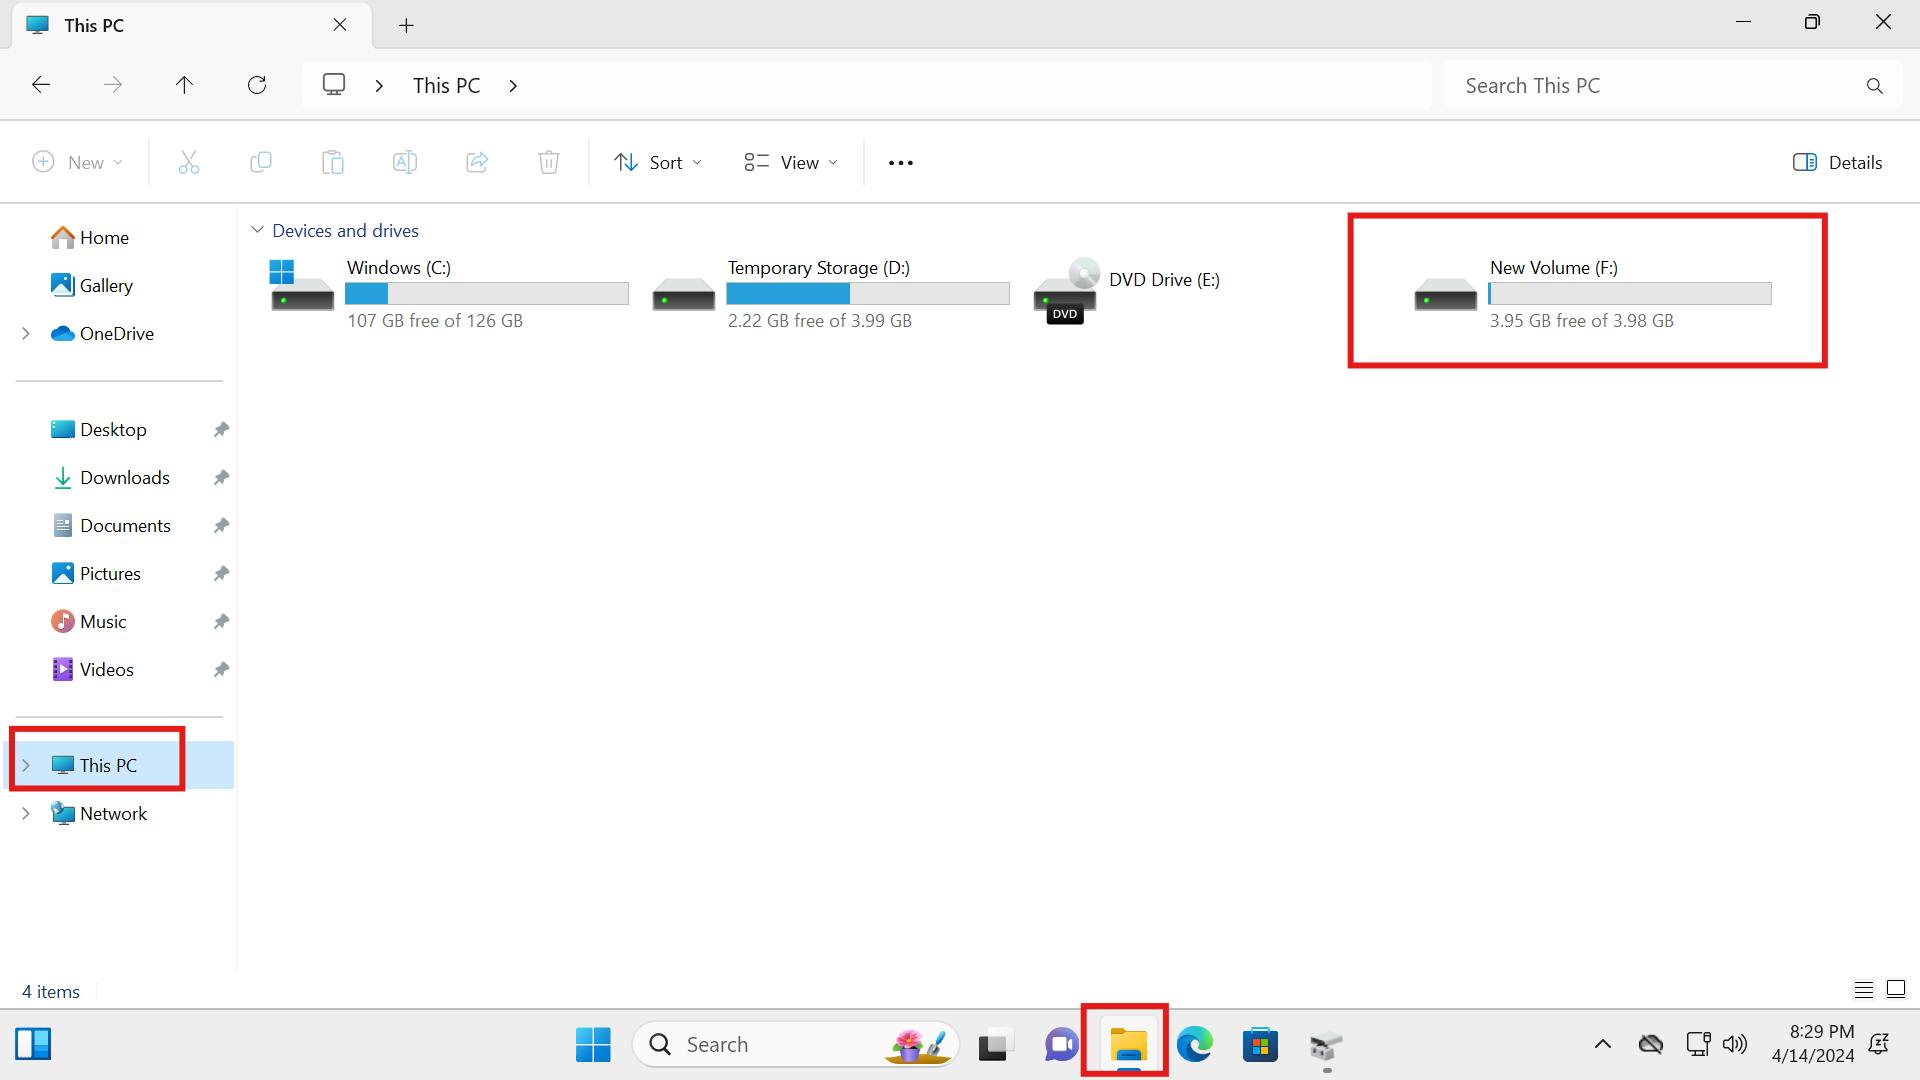
As you can see, our new volume has been initialized and ready for use!!
To view your new storage, go to your file explorer and click on “This PC”.
In conclusion, the OS disk in Azure contains the operating system and boot files, and the data disk is an additional disk used for storing data and applications. It is important to understand what each disk is used for and how they differ. Overall, the OS disk, data disk, and temporary disk serve different purposes.